[SpringBoot] Eclipse Web devleloper Tools/스프링부트 실행해보기(HTML,jsp)
Day78. 230822
스프링때와 마찬가지로 static파일에 css,image,js 폴더를 넣어준다.

pom.xml>

dependecy에 thymeleaf있는지 확인해준다.
Marketplace-Eclipse Web devleloper Tools 설치

Help-Eclipse Marketplace를 클릭해준다.

Eclipse Web devleloper Tools검색 후 Install 해준다.


다음과 같이 선택 한 후 설치를 진행해준다.

accept 후 Finish를 눌러준 후 재시작해준다.

Installed에 설치된 것을 확인 할 수 있다.
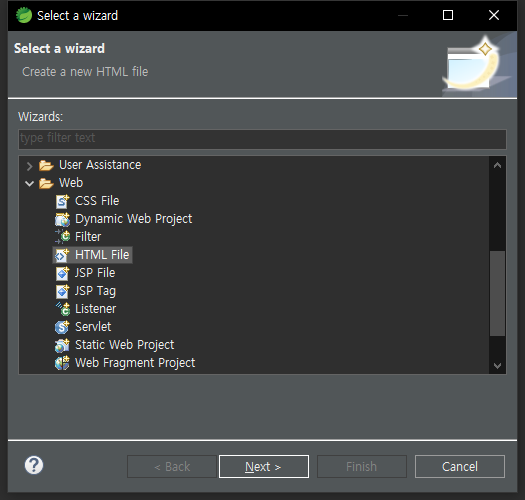
-> Web관련 파일을 만들어 줄 수 있다.
Preferences에 Web이 생겼기 때문에 encoding설정을 해준다.

html,css,jsp파일 UTF-8설정
스프링부트 실행해보기
1. HTML파일 이용
templates안에 html문서 만들어준다.

HomeController>
package com.mycom.app;
import org.springframework.stereotype.Controller;
import org.springframework.ui.Model;
import org.springframework.web.bind.annotation.RequestMapping;
import org.springframework.web.bind.annotation.ResponseBody;
@Controller
public class HomeController {
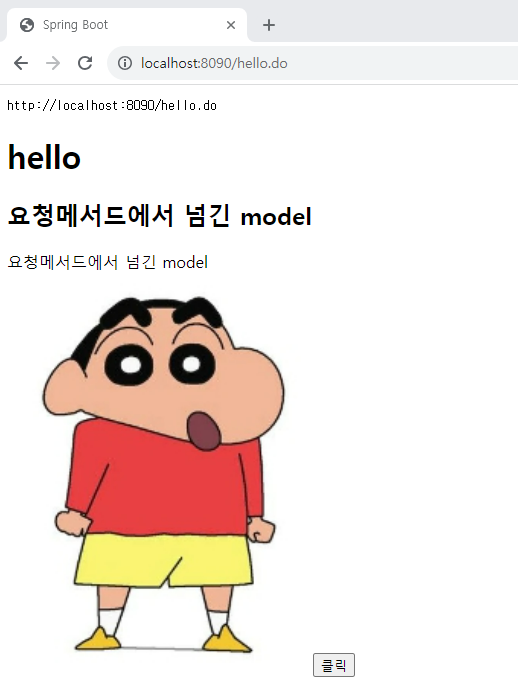
//요청주소 http://localhost:8090/hello.do
@RequestMapping("/hello.do")
public String hello(Model model) {
System.out.println("hello()진입"); //콘솔 출력
model.addAttribute("msg", "요청메서드에서 넘긴 model");
return "hello"; //templates폴더하위의 hello.html문서
}
}
hello.html>

hello.js>
/**
 * hello.js
 */
 function showMsg(){
	alert("한글\n english\n");
}
2. jsp파일 이용
https://mvnrepository.com/search?q=tomcat-embed-jasper


https://mvnrepository.com/artifact/org.apache.tomcat.embed/tomcat-embed-jasper/9.0.69
에서 Maven방식의 링크를 pom.xml에 추가해준다.

프로젝트 선택 후 Update Maven Project를 해주면 tomcat이 설치된 것을 볼 수 있다.

대신 thymeleaf를 주석처리해준다.
application.properties>

prefix와 suffix를 추가해준다.

src/main/webapp/WEB-INF/views에 jsp파일을 만들어준다.
HomeController>
package com.mycom.app;

import org.springframework.stereotype.Controller;
import org.springframework.ui.Model;
import org.springframework.web.bind.annotation.RequestMapping;
import org.springframework.web.bind.annotation.ResponseBody;


@Controller
public class HomeController {
	//요청주소 http://localhost:8090/hello2.do
	@RequestMapping("/hello2.do")
	public String hello2(Model model) {
		System.out.println("hello2()진입"); //콘솔 출력
		model.addAttribute("msg", "요청메서드에서 넘긴 model");
		return "hello2"; //  /WEB-INF/views폴더하위의 hello2.jsp문서
	}

}
hello2.jsp>


${msg} 내용이 나오고 클릭을 누르면 alert창이 띄워진다.